Every application will always need an installer so that it can be used by the end users, without the need for them to take the action of investigating, installing applications, etc. An installer will contain all the source code and external libraries encapsulated in only one executable file. In this post we will learn to create an installer for any operating system of our application in electron.

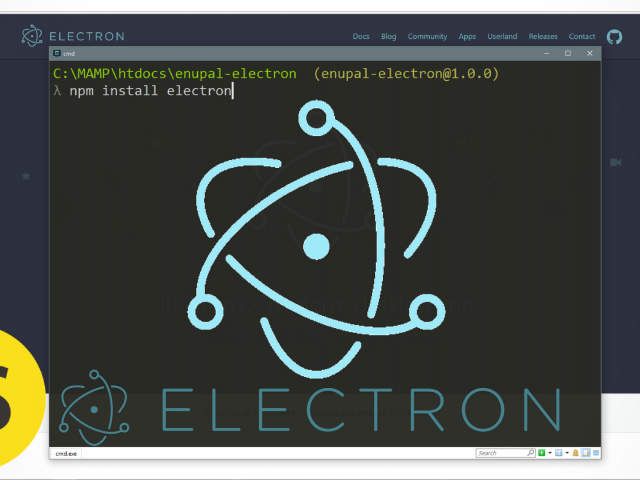
To create our installer we will make use of a library available through npm packages called Electron Builder, locate ourselves inside the folder where our application is located, I have installed electron builder:
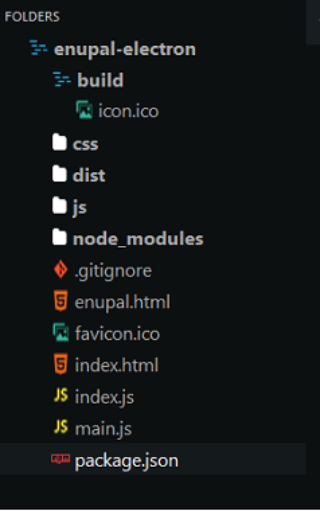
npm install electron-builder --save-devWe go to our main folder and create a folder called build where we will add an image for each operating system
- icon.ico (Required for windows)
- background.png (Required for Mac)
- icon.icns (Required for Mac)
The installer for Linux will use the same mac images :)
The next thing we have to do is fix our file package.json we will add more information about our application and we will add the keys inside "scripts"
- "pack": "build --dir"
- "dist": "build"
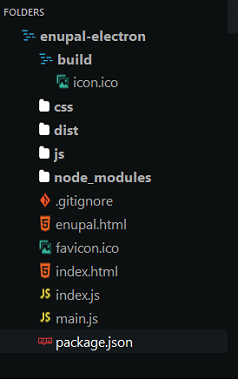
This would be my folder structure
And we will also add the "build" key where we will specify the information required for our electron builder library to run for each operating system. In our project we use or install two external libraries: mysql and pretty-bytes for our installer to add these libraries remember to have them in "dependencies" and libraries like Electron Builder that we are using to create the installer we do not need them in the installer so they can go in "devDependencies" or just do not add it in the package.json file at the moment my file looks like this:
{
  "name": "enupal-electron",
  "version": "1.0.0",
  "description": "The enupal feed blog",
  "main": "./main.js",
  "scripts": {
    "postinstall": "install-app-deps",
    "start": "electron .",
    "pack": "build --dir",
    "dist": "build"
  },
  "author": "Enupal <info@enupal.com>",
  "license": "MIT",
  "build": {
    "appId": "enupal-electronv1",
    "asar": true,
    "dmg": {
      "contents": [
        {
          "x": 110,
          "y": 150
        },
        {
          "x": 240,
          "y": 150,
          "type": "link",
          "path": "/Applications"
        }
      ]
    },
    "linux": {
      "target": [
        "AppImage",
        "deb"
      ]
    },
    "win": {
      "target": "NSIS",
      "icon": "build/icon.ico"
    }
  },
  "dependencies": {
    "mysql": "^2.13.0",
    "pretty-bytes": "^4.0.2"
  }
}
That would be practically everything! we only need to execute the command to generate our installer. A dist folder will be created automatically with the installer and the folder associated with that installer. Since I am doing the test in Windows, only the windows executable will be created. They will need to execute the command in each operating system that the installer needs (I'm not completely sure that they can write in the comments if they work in another OS)
The command is the following:
npm run distThat is all! check your dist folder and there will be your installer. In the next post we will talk about the automatic updates. Here I leave a video with the content of the post
